
Using Custom Columns in Procurement
Victaulic Tools for Revit provides dozens of data points for parameter data and makes them available in the Static Bill of Material (Static BOM) in the Procurement Tool. Often, the data you’d like to display on your Static BOM is not available in the default parameter list. In this article, we’ll explain the concept behind Custom Columns in the Static BOM and show a few examples of how to utilize most any data point in Revit. First, we’ll make a selection within Revit and run the Procurement Tool in the Victaulic Tools Ribbon
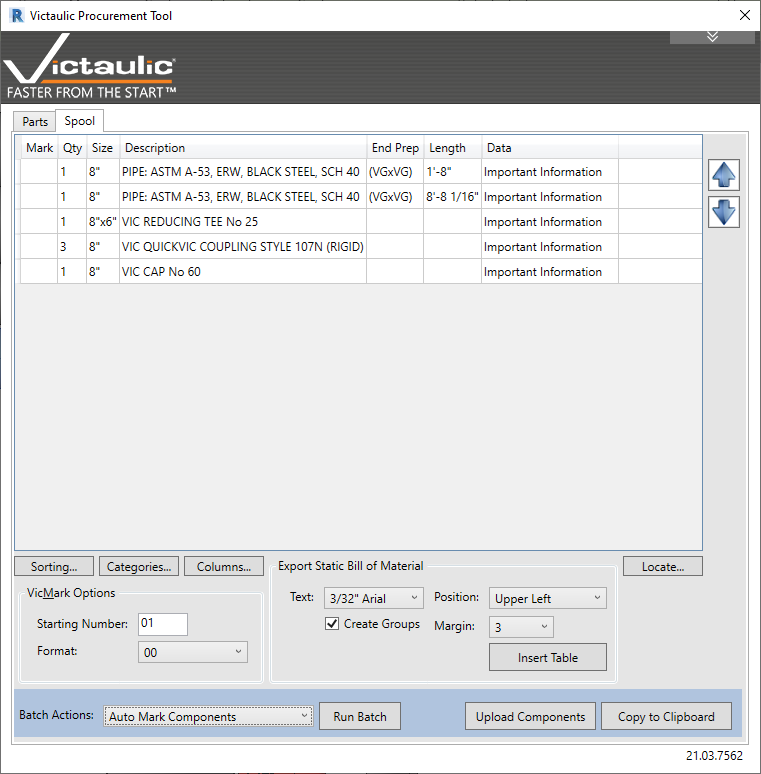
At the top of the Procurement Tool, switch to the Spool tab. This is a place where you can view and manipulate a bill of material before placing it on a sheet. Click the Columns button to show the instructions the Procurement Tool is following to build that table.
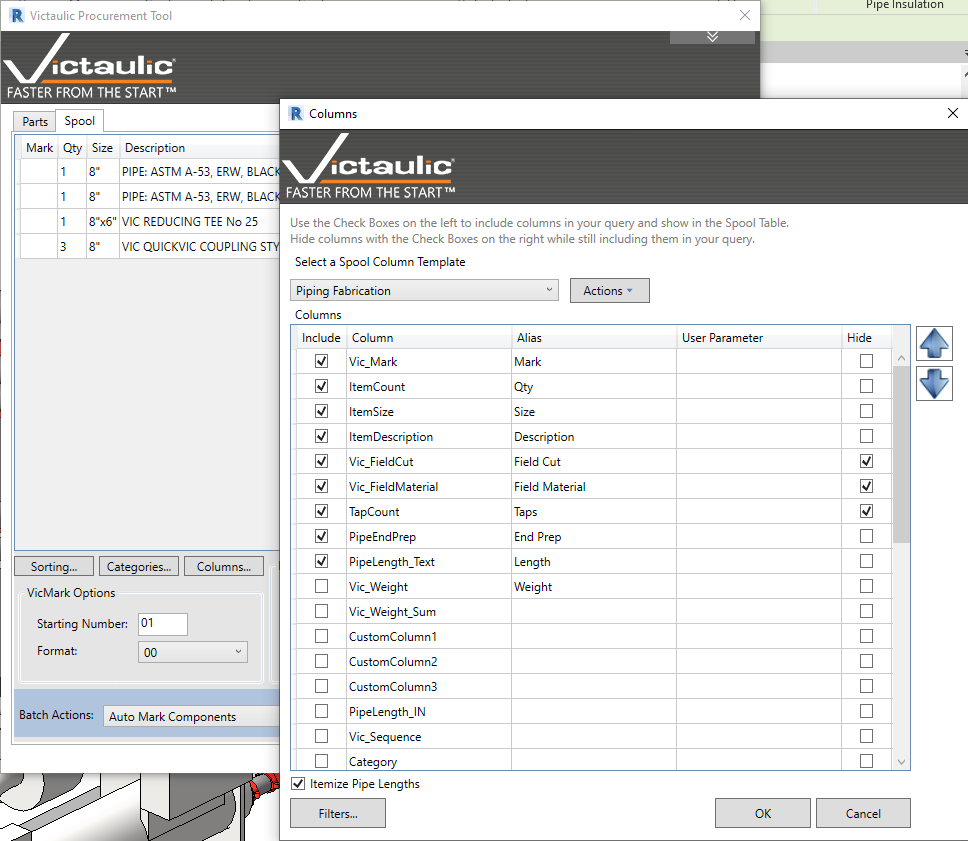
Within this screen, columns can be enabled and disabled, columns can be hidden from the table as well. You would hide a column if your goal is to use that column for groupings but not show the column. For example, we have Vic_Field Material being activated but also hidden in our Piping Fabrication template. This will group all the non-field material items at the top and group the field material items at the bottom. Shown above. Also shown in this configurator is a column Alias as well as a User Parameter section. A column Alias can be used on any column to change the column header text on the Static BOM. The User Parameter column can only be used for the Custom Column 1 through 8 rows.
Here’s how to utilize the Custom Columns to pull additional parameter data from your model.
First, identify any parameter in the properties window when you select your item. For our example we’ll use a project parameter called “MY CUSTOM PARAMETER”. This can be a text, number, or yes/no parameter.
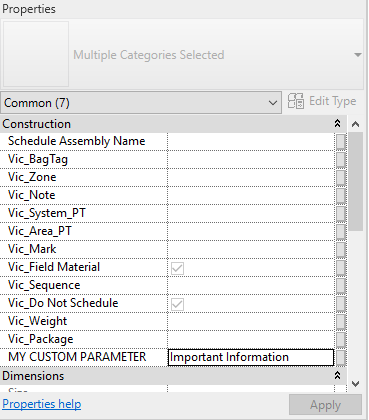
Make sure that your specific parameter is populated with data.In the Spool Column Templates dialog, place a checkbox next to the Custom Column you want to use and provide an Alias for the column. The type the parameter’s name into the User Parameter box exactly as it appears in the Revit Properties window.
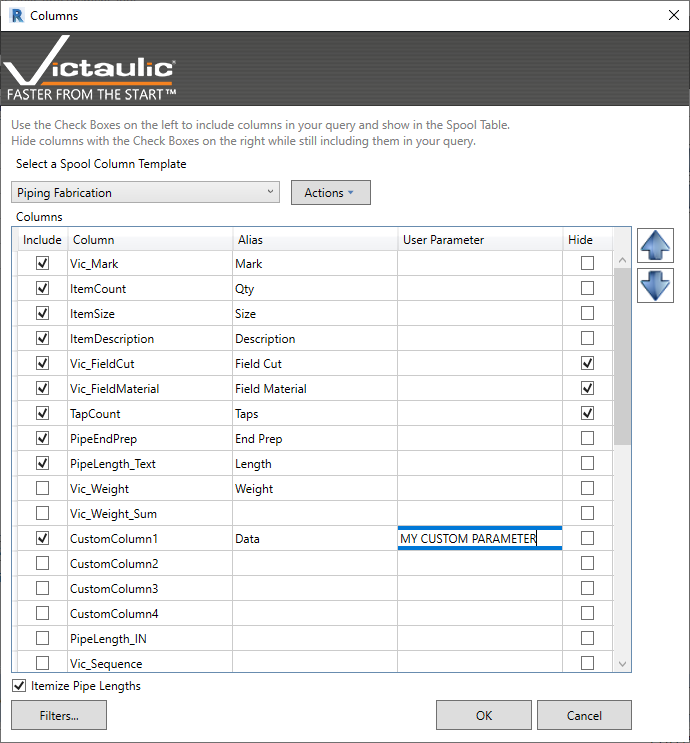
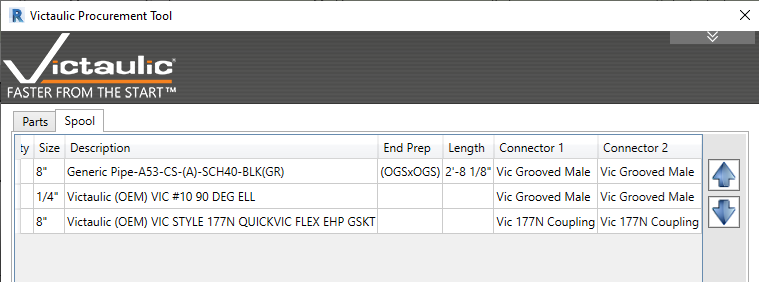
Click OK to save the template and show the results. At this time, your parameter will display without data. The Procurement Tool did not know to look for this data when you first ran it. That said, close the Procurement Tool and run it again. This time, in the Spool tab, your data will be displayed as it was populated in Revit.
Use this Custom Column Data in the Procurement Tool or by using one of our automated tools like the Assembly Manager or the Package Manager.
Pro Tips
1. Fabrication Part data from the “Edit Part” dialog is also available to be displayed in this section. Use parameters such as “Diameter” or “C1” to get data from deep in the content library into your Static BOM. Other parameters that are commonly used are “Fab Hanger: Rod Diameter” and “Fab Hanger: Rod Length” to report hanger rod information.

2. Try using a combination of static text with your parameter or parameters. Just surround the parameter names with curly brackets { } and the Procurement Tool will only resolve the parameters in between the brackets.

